


Loft Boarding: Where can I board? Is my loft safe?
Your loft, often neglected and overlooked, holds the untapped potential to become a valuable and versatile space in your home. But how do you use it? Whether you’re converting your loft, looking to increase storage room, or even building your own home from scratch, knowing how to board your loft properly and safely is key. Here we’ll cover everything you need to know including
")
Boarding your loft is the process of laying loft floor boards or floorboards on your loft floor to be able to use the space for storage or as an additional room. 9/10 times the answer is yes you can board most loft. However, this may not always be that simple. There are restrictions/regulations around what you can and cannot do in your loft so you will need to be sure you’ve checked everything legally before you begin.
No, do not lay loft boards directly onto your joists. Putting boards directly onto your joists will squash your loft insulation and restrict the airflow in your loft. This is against building regulations and may also cause mould and dampness in your loft due to reduced airflow.
The boarding needs to be raised higher than your insulation level to allow a gap for airflow. This is done by purchasing loft legs and placing them on the joists and trusses of the loft. Then sitting the loft boards on top of the legs therefore creating a gap. The key here is to purchase loft legs that are the correct height and size for your insulation amount.
None. You can board out your loft without any building consent but it can only be used for storage or a non-living space, such as gym, etc
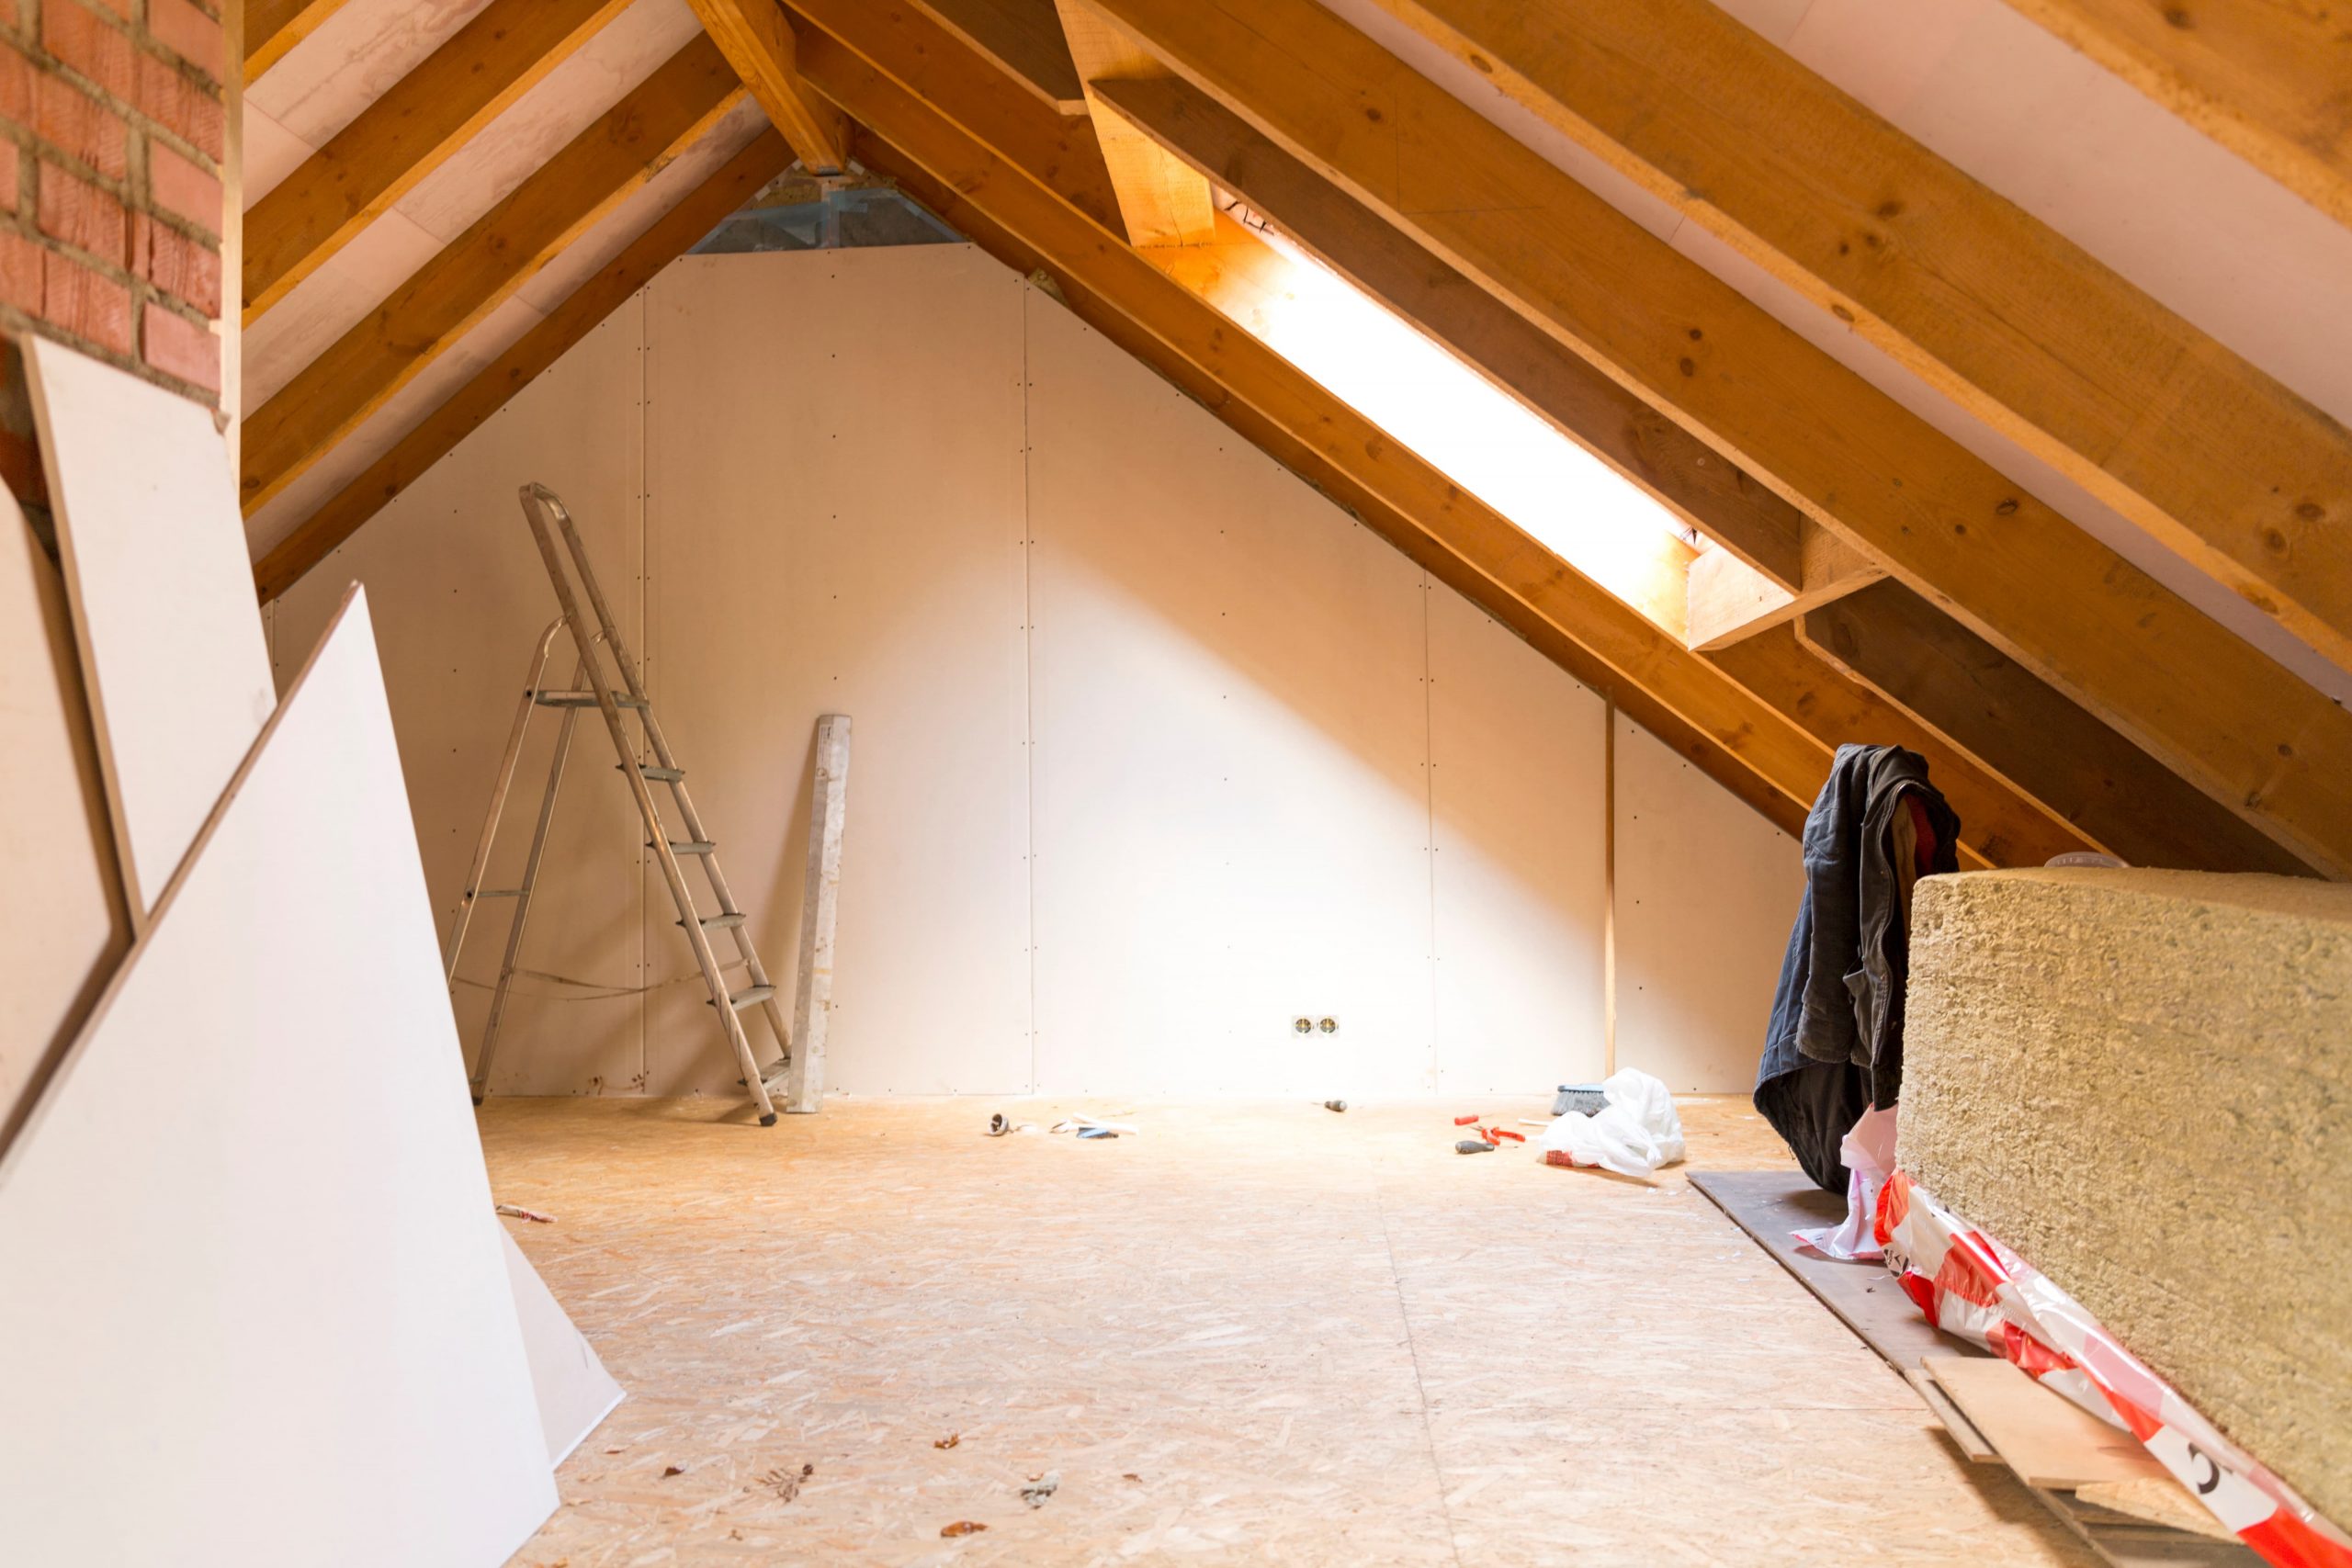
Step 1: Assess the Loft
- Check the Joist Strength: Ensure the loft joists are sturdy and at least 100mm in height. If they are not, you may need to reinforce or replace them.
- Evaluate Insulation: Determine the type and depth of insulation in your loft. Ensure it complies with building regulations, and plan to lay chipboard flooring above it without compressing it.
Step 2: Gather Materials and Tools
Materials:
- Flooring-grade chipboard sheets (18mm thickness is recommended)
- Loft legs or support brackets (loft ladder installation brackets)
- Screws
- Tape measure
- Saw
- Screwdriver or drill
- Safety equipment (gloves, goggles, mask)
Step 3: Plan the Layout
- Measure and Mark – Measure the dimensions of your loft and mark the areas you want to board. Consider leaving access areas for maintenance, like over the loft hatch.
- Position Loft Legs: If using loft legs, position them evenly across the loft to create a raised platform. This helps maintain insulation effectiveness.
Step 4: Cut and Install
- Cut Legs to Size: If using loft legs, cut them to the desired height using a saw.
- Install Legs: Attach the loft legs to the joists, ensuring they are evenly spaced and level. This creates a stable base for the chipboard flooring.
Step 5: Install the Chipboard Flooring
- Cut Chipboard Sheets: Measure and cut the chipboard sheets to fit the marked areas using a saw.
- Lay the First Sheet: Start from one corner and lay the first sheet, ensuring it fits snugly against the walls or loft sides.
- Secure with Screws: Secure the chipboard to the joists using screws. Place screws at regular intervals, ensuring they are driven flush with the surface to avoid tripping hazards.
- Repeat the Process: Continue laying and securing chipboard sheets until the entire boarded area is covered.
Step 6: Finish and Secure
- Fill Gaps: Fill any gaps between the chipboard sheets using the appropriate filler material.
- Secure Edges: Secure the edges of the chipboard sheets to prevent movement. You can use additional screws or adhesive.
Step 7: Safety Checks
- Check Stability: Walk across the entire boarded area to ensure stability and identify any squeaks or movement.
- Inspect for Fire Safety: If fire safety is a concern, consider using fire-resistant materials or treatments.
Step 8: Optional Finishing
- Touches Paint or Seal: Optionally, paint or seal the chipboard to protect it and improve aesthetics.
- Install Lighting: Consider installing lighting fixtures to illuminate the space if needed.
By following these step-by-step instructions, you can successfully board your loft with flooring-grade chipboard, creating a safe and functional space in your home. Always prioritise safety, and if you’re unsure about any step, consult with a professional for guidance.
Our Cirrus Flooring Grade Chipboard is 18mm which makes it perfect for boarding your loft. These loft boards are high quality, heavy duty and perfect for any loft space. Shop Now.
Related case studies

Don’t move, improve: Do you need planning permission for a loft conversion?

Do you need planning permission for skylights and roof windows?
